We love a good spot of nursery inspiration here on Rock My Family with all the cute details but if you are like me then they probably result in a fair bit of purse bashing and my purse most certainly could do without that at the moment. You are probably all well aware by now that I like a spot of crafting. I also love a bit of decorating so it seems only fair that I share some of my favourite makes with you all.
Over the coming months I’m going to share some simple ideas of things to make for your kids rooms from today’s garlands to fun cushions and storage. I promise you they are really easy and can be adapted to your level of skill as required.
I often spy things in stores or on Instagram and Pinterest that I fall in love with. I’ll mentally add it all to my shopping basket only to realise that I should’t really be spending hundreds of pounds on some cushions. Should I? So instead I normally set about creating my own versions. Not normally quite as polished but the girls don’t seem to mind. I also get them involved now they are a bit older as they love nothing better than getting out the glitter and glue.
I am aware that a lot of these may be things you have seen on Pinterest or in shops but as I am making them purely for my own home I hope you think this is ok. I’ve felt really inspired by lots of things and have tried to add my own little spin on them. That’s the great thing about crafting, you can be inspired but once you pick up your craft box you can really make it your own. I get most of my supplies from things in my craft box, Hobbycraft, the local fabric shop or good old Ebay.
If you don’t have the time, or the inclination, to get crafty then take a peek at our Little’s List for some fabulous home decor stores.
{POM POM GARLAND}
These are quite possibly the simplest thing to make and I love draping them around pictures or shelves to add a little bit of interest. You can pick up a bag of the pom poms in places like Hobbycraft for a couple of pounds. Stick with one colour or go for a rainbow effect.
[ezcol_1third id=”” class=”” style=””]
What Do I Need?
- Pack of pom poms
- Thick thread
- Empty jam jars
- Large needle
[/ezcol_1third]
[ezcol_2third_end id=”” class=”” style=””]
What Do I Do?
1. Thread the needle and tie a knot or loop in one end of a thread.
2. Push the needle through the first pom pom.
3. Tie a small knot a bit further up the thread before adding the next pom pom.
4. Repeat until it is the desired length.
5. Tie a final knot to secure.
[/ezcol_2third_end]
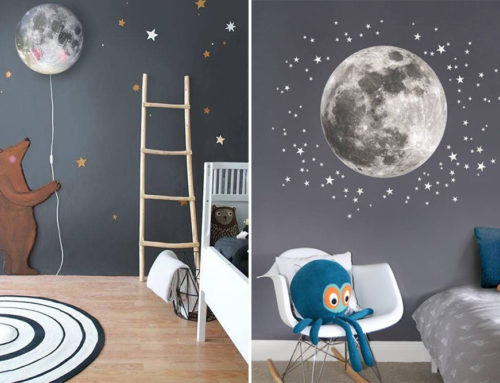
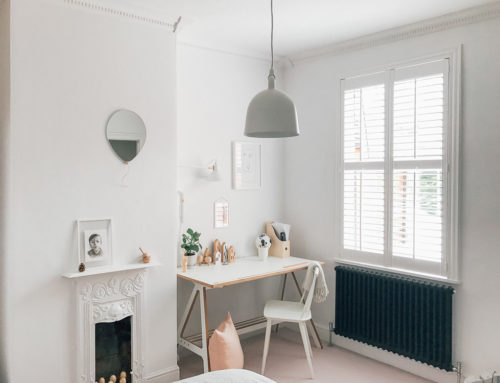
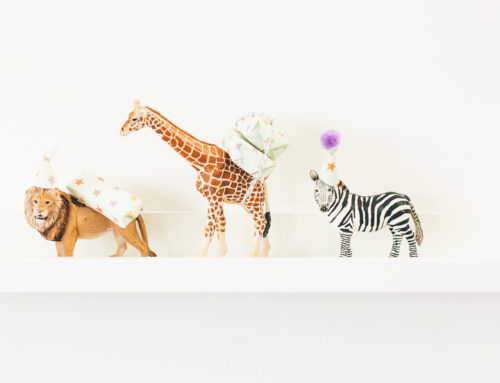
{WOODEN BEAD HANGING CLIPS}
I first found these on Cox and Cox and have since made more for myself to decorate the girls rooms. They are ideal for holding photos and postcards or simply create a long string to drape over shelves.
[ezcol_1third id=”” class=”” style=””]
What Do I Need?
- Wooden beads
- Cord or twine
- Paint
- Bulldog clip
[/ezcol_1third]
[ezcol_2third_end id=”” class=”” style=””]
What Do I Do?
1. If you are planning on painting your wooden beads do this first. You could have a mixture of wood and painted if you like or just buy the ready painted beads.
2. At one end of your cord tie a big loopy knot which will allow you to hang your garland up.
3. Begin threading the beads on to the string until it is at your desired length.
4. If you want to make a clip version then tie the end of the string tightly and securely to the bulldog clip otherwise form in to another loop as above.
[/ezcol_2third_end]
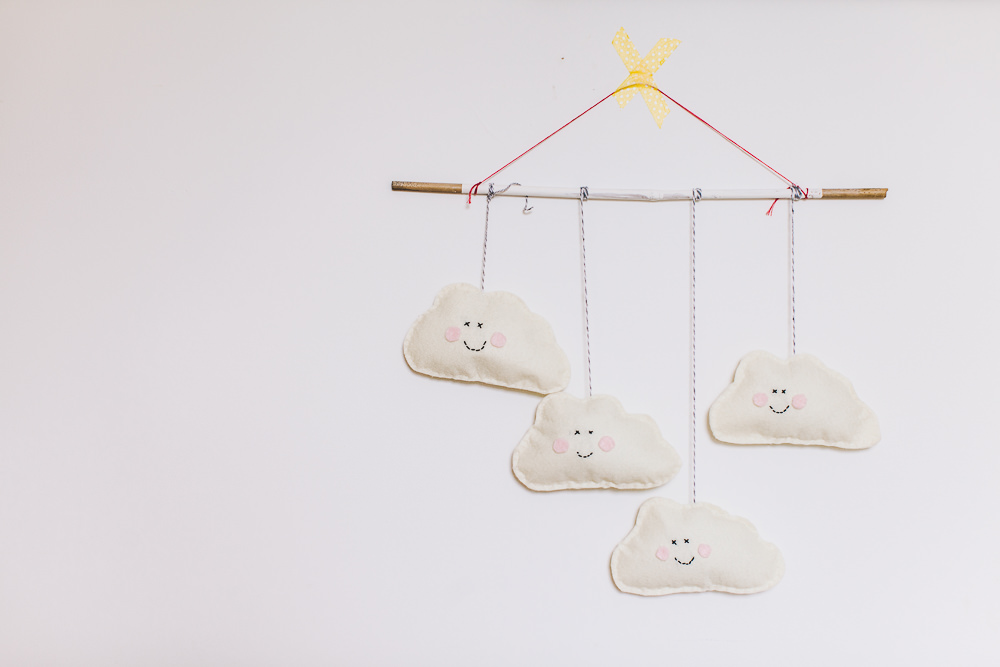
{CLOUD MOBILE}
I created this little cloud garland for Alice’s room and was so pleased with the result. It probably took an hour to make but cost pennies.
[ezcol_1third id=”” class=”” style=””]
What Do I Need?
- Scraps of white felt
- Scrap of pink felt
- White and black thread
- Needle
- Stuffing or cotton wool
- Dowel or stick
- String or ribbon
[/ezcol_1third]
[ezcol_2third_end id=”” class=”” style=””]
What Do I Do?
1. On a piece of paper draw out a cloud shape of your choice.
2. Trace the cloud on to the white felt three times and cut out for the fronts.
3. Flip the cloud over and repeat for the backs (It doesn’t really matter if you flip it over but it is just to avoid getting any pencil marks showing on your felt).
4. On three of the clouds use the black thread to do a little cross for the eyes and running stitch for the month. You can use a sharpie pen if you prefer but I like the effect of thread.
5. Cut out tiny pink circles and glue on for the cheeks. Again you could use a pen.
6. Place front and back together and begin using a running stitch to sew around the edge with the needle and thread. Don’t worry if it isn’t perfect.
7. When you still have a gap left poke in a bit of stuffing and then finish sewing up the cloud.
8. Repeat on the other two clouds.
9. Sew a length of thread or ribbon to the top of each cloud for hanging.
10. Tie each cloud on to the stick at varying lengths.
11. Attach ribbon or string to the each end of the dowel in a loop for hanging.
[/ezcol_2third_end]
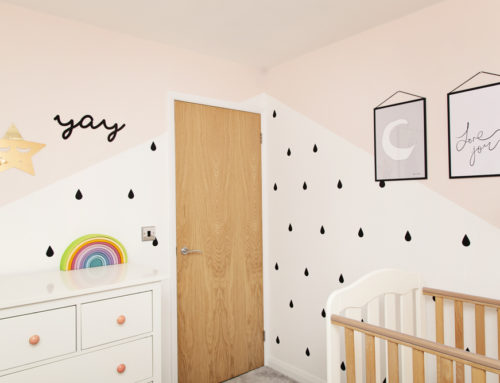
{FEATHER GARLAND}
Who doesn’t love feathers? I’d actually happily have this in my own bedroom. It was meant to be a bit more minimalist with some beautiful grey feathers I purchased from eBay for about £2. Then the girls got involved and the glitter came out. I rather like the effect though. Glitter and feathers are a winner in my book.
[ezcol_1third id=”” class=”” style=””]
What Do I Need?
- Feathers
- Glitter
- Glue
- String
[/ezcol_1third]
[ezcol_2third_end id=”” class=”” style=””]
What Do I Do?
1. First work out how long you want your garland to be and sort out the right amount of feathers.
2. Spread some glue on one end of the feather and sprinkle liberally with glitter. I’d do this over a sheet of paper unless you want a glittery table. Leave to dry
3. Cut a length of string, ribbon or thread. I used thread (like you used to make old school friendship bracelets with).
4. Tie on your feathers at regular intervals.
[/ezcol_2third_end]
{TASSLE HANGING}
I kid you not, this will take you about 5 minutes to make. I love wool for some super fun creative projects. This could be made in any colours you like. Stick to one colour or mix it up with complimentary shades to create a different look.
[ezcol_1third id=”” class=”” style=””]
What Do I Need?
- Wool
- Dowel
[/ezcol_1third]
[ezcol_2third_end id=”” class=”” style=””]
What Do I Do?
1. Choose which colour wool you want to use. It could all be the same or you could use contrasting shades.
2. Wrap the wool around your one hand about 30 times until you have a nice thick loop.
3. Cut the wool and carefully slide off your hand.
4. Using a strand of wool tie this through the top of the loop. This will allow you to hang it up.
5. Using another small bit of wool tie a knot around your loop about a quarter of the way down. This helps form the hassle shape.
6. Take your scissors and snip across the bottom of the loop to let the strands hang free in the tassle. You can trim it to neaten it if needed.
7. Now hang your tassels in any way you like. You could hang from a stick as per the cloud mobile or you could form in to a long garland by tying at intervals along a piece of wool, ribbon or string. You could even make in to a mobile. The choice is yours.
[/ezcol_2third_end]
{BUNTING}
I still love a spot of bunting in the girls rooms. In the nursery I went for bright and bold colours and strung it up around the edge of the room. I normally make mine on my sewing machine but there is quite a speedy method for those of you who don’t fancy getting busy with a needle and thread.
[ezcol_1third id=”” class=”” style=””]
What Do I Need?
- Fabric in your choice of colours and patterns
- Scissors or pinking sheers (the zig zag scissors)
- Wander web
- Wide ribbon or long strip of fabric
[/ezcol_1third]
[ezcol_2third_end id=”” class=”” style=””]
What Do I Do?
1. Draw a triangle on to some paper. I find a slightly longer triangle works better than an equilateral triangle for this.
2. Alternatively you can cut a strip of fabric that is the height of your triangles. Along one edge mark dots at the width of your triangle all the way along the strip. On the opposite edge do the same but so the first dot is in middle of the ones on the opposite edge. e.g. If your triangle is 15cm wide then on one edge your first dot would be 15cm in from the end and on the other edge the first dot would be 7.5cm in from the end. Then join the dots to form a whole row of triangles.
3. Cut out as many triangles as you think you will need. Ideally cut out using pinking sheers as this stops the fabric fraying as it would with normal scissors.
4. For a neater edge you can turn under a slight hem on each triangle and iron on wander web to help secure in place.
5. Once all your triangles are ready lay them out so that you get your patterns and colours in the required order.
6. Take your ribbon and iron in half width ways.
7. Lay on your ironing board and add a a string of wonder web inside
8. Place your triangles on to the ribbon, fold over the ribbon and iron to secure.
[/ezcol_2third_end]


I always like your craft posts Lottie as they seem like things I could actually do! The feathers look lovely & I might try the beads as well – get me! Happy Friday 🙂
Thanks Nicola. Glad you enjoy them as I love making the things to include. I’ll get on with the next one soon. Have fun crafting xx
Oh I love these Lottie, Some fab ideas. I love the bead hanging clips!
You’ve spurred me on, I’ve been meaning to turn my baby shower cake toppers into a mobile for months so I just might give it a go x
Oh, that sounds a fabulous idea for a mobile. Loving all your crafty upcycles at the moment too xxx
Love the feathers….so pretty (and easy!) and haven’t seen them before!
My Pintrest board is full of little crafty projects to do, but I still haven’t finished some bunting I started last year……..maybe I should try and get it done this weekend….!
I’m the same and have lots of half finished things. I am trying to do bits in the evening when the girls go to bed or putting aside an hour at the weekend. I actually find it very relaxing (until the girls get involved!!) x
Those feathers ?
Got to love a feather and glitter combo x
I love the beads and bulldog clips one!
Same… defo doing that one. x
Glad you like them. They are my favourite. They also look good hung horizontally in a long string with a few bulldog clips dotted along. Perfect for displaying artwork xx
Grey feathers and glitter, what a fab idea! Will definitely be giving a few of these a go! x
It’s definitely a favourite of mine. Any combo of feathers and glitter is a winner in my books. xx
Yes yes yes!! love this post. Will be attempting to do something from it for begind the wall on the cot. I have held back on decorating the wall as we will hopefully be transferring her into her brothers lower bunk in the summer. But this is so affordably simple I might just treat myself (I mean her- totally for her benefit obvs)
Yay, glad you enjoyed them. Definitely give some of them a go. Tag us in on Instagram and let us know how they go xxx
I saw those wooden bead clips on your instagram (I think) a couple of weeks ago and wondered where they were from. Little did I know I could make my own! Love them.
Fab post Lottie x
Glad you like them Tracy. They are super easy to make and I just get my wooden beads of Ebay for a few pounds. xx
I’m also loving the feathers ?
I’m in awe of your crafting abilities Lottie. I don’t have a single crafty bone in my body and the idea of letting loose with the glitter brings me out in hives. I’m a neat freak and would be down on my hands and knees for days trying to get it off surfaces / the carpet!
Ah, thanks Lynsey. I do love a spot of crafting but honestly it’s normally pretty easy stuff. I too have a fear of the glitter. The hoover is out straight away but people are always telling me my face is covered in glitter. I figure I could start a new trend! x